This USA Ovation Viper EA68 is a work horse for Live performances.
The Viper really is a different animal. The sustain is distinctly "electric" but the traditional wood bridge and spruce top keep it squarely in the "acoustic" relm as well.
I play a lot of songwriter/house concert/festival venues where Ovations are uncommon... much less ones that blurr the electric-acoustic lines as much as this Viper does. Once we've all plugged our peizo's in though, this guitar is a great fit for acoustic lead with it's warm and balanced tone.
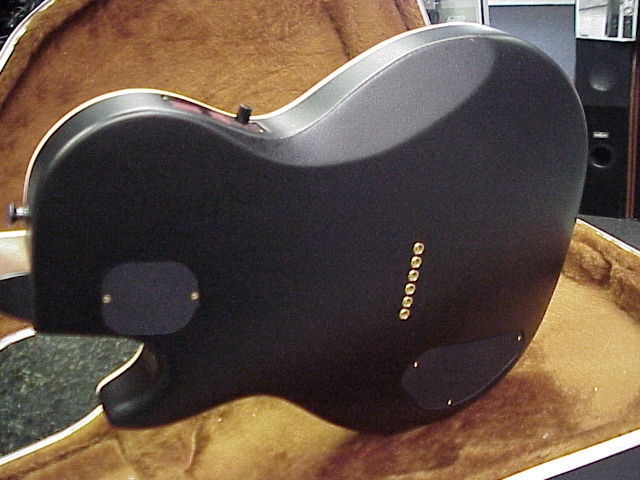
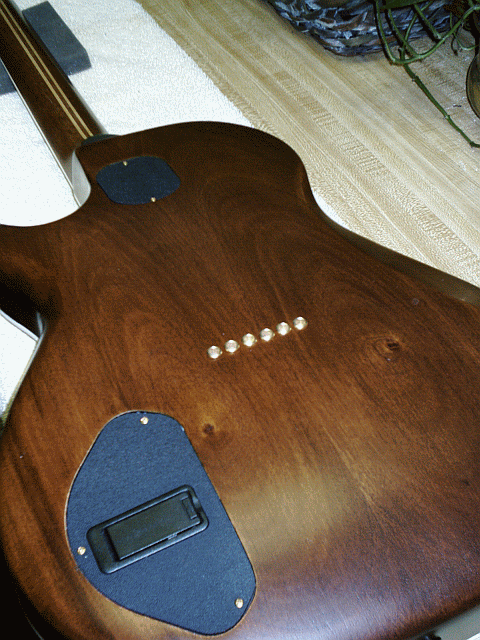
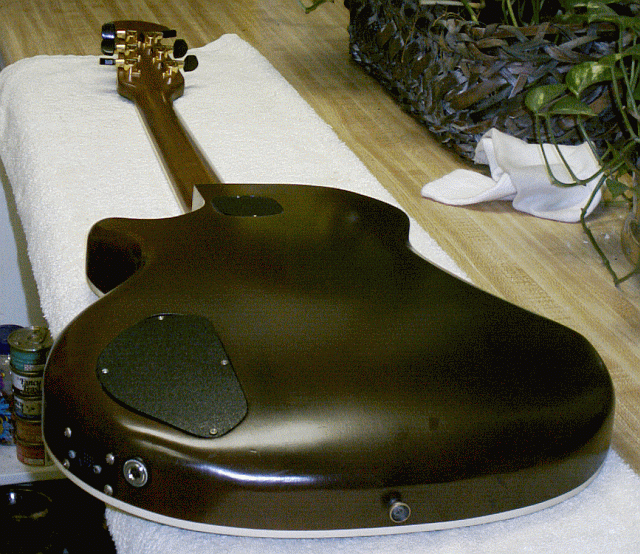
Here's the standard black textured back.
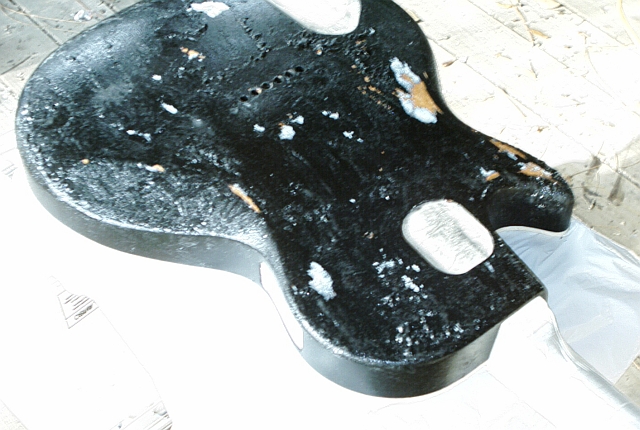
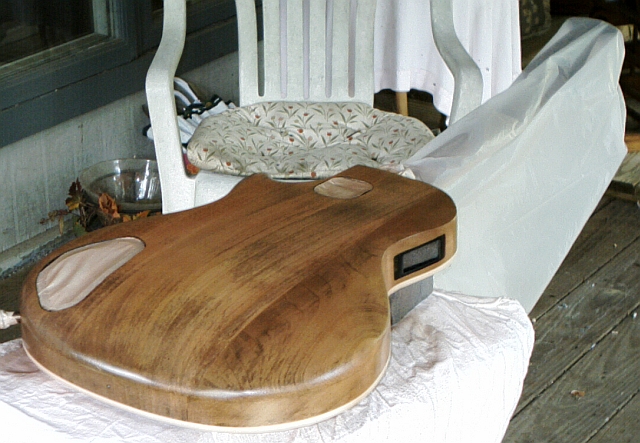
Stripping the catalyzed polyurethane finish was the first step... and quite a chore! Paint stripper barely makes a dent.
Lots and lots of hand sanding.
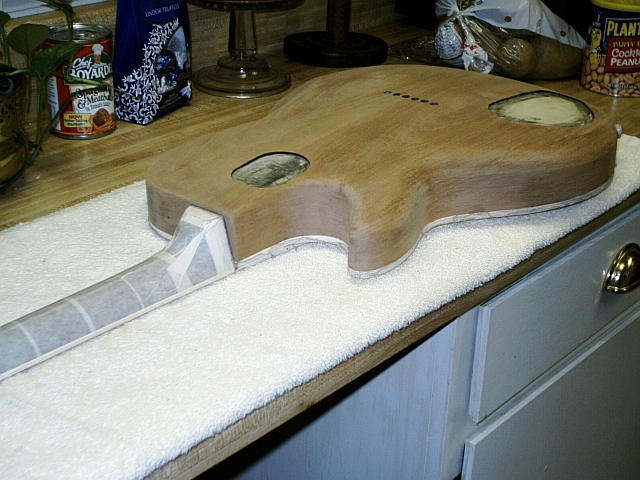
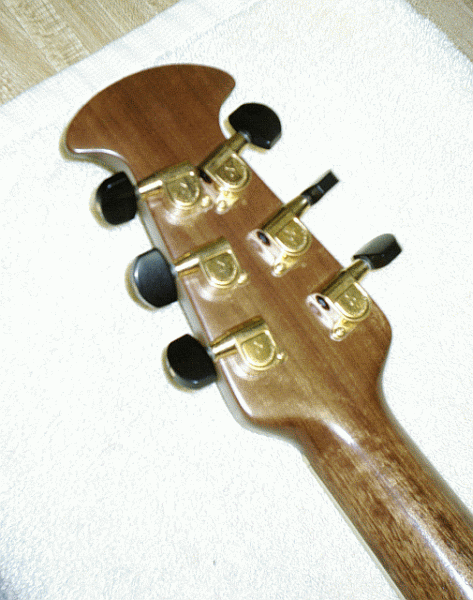
The bookmatched mahogany back was really neat to uncover beneath the textured paint.

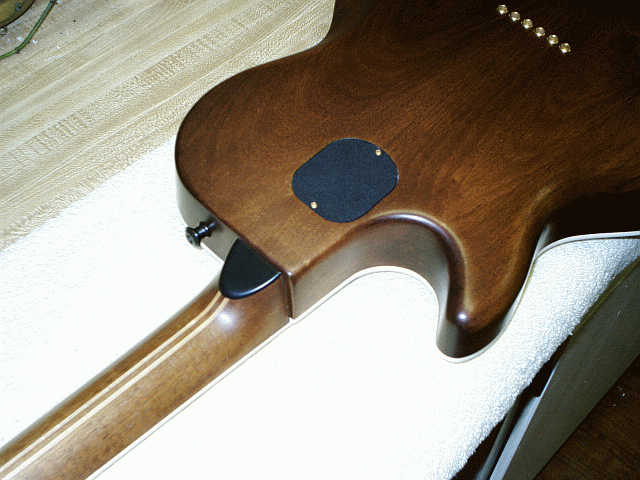
I moved the volume control to the face (just a personal preference) by removing the stock volume pot from the preamp PCB, and fishing a 3 lead wire from the upper bout, through the body to the back cavity. (Easier said then done as there is just a narrow channel routed out--- snaking it's way through the solid parts of the body.)
This shows the position of the Volume pot in the back cavity. In order to recess the pot correctly, you need to drill with a 1" forstner bit from the electronics cavity towards the top face.
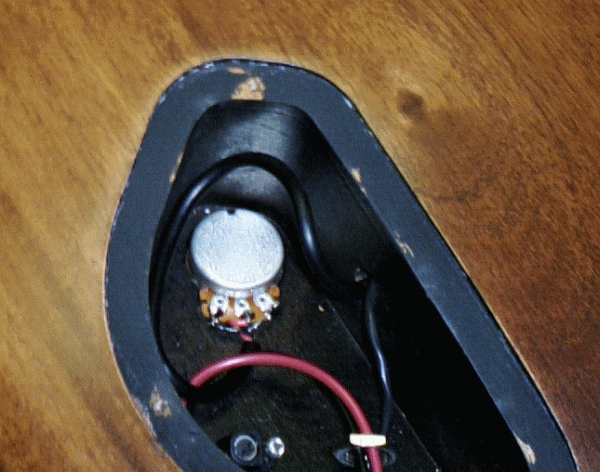
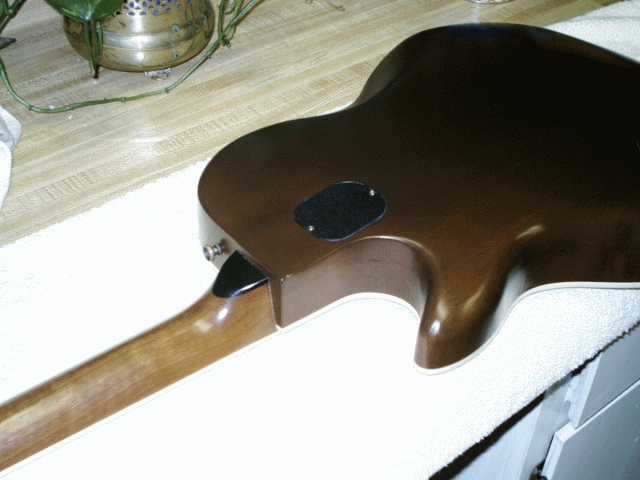
I filled the hole where the stock volume control was with a black plastic interior automotive plug.
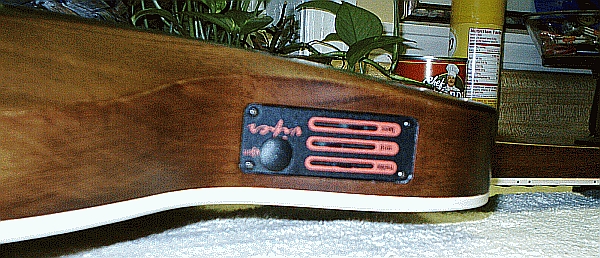
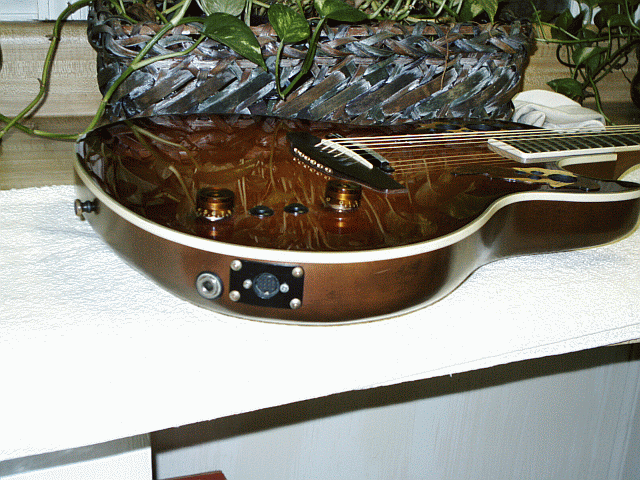
I installed an easy access battery box into the back cavity cover. As a "work" guitar, having to remove 3 screws to change a dying battery in the middle of a set wasn't something I was willing to live with.
Especially important with the Viper. Viper preamps drain battery's faster than the old OP pre's did--- for some reason. (I'll go through a battery every quarter in the Viper where as the battery in my Adamas II will stay strong for a couple of years...)

OOO__________________________________________________
OOO__________________________________________________
OOO__________________________________________________
OOO__________________________________________________
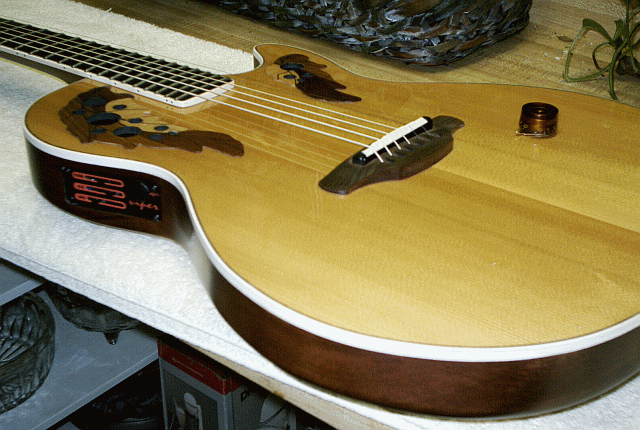
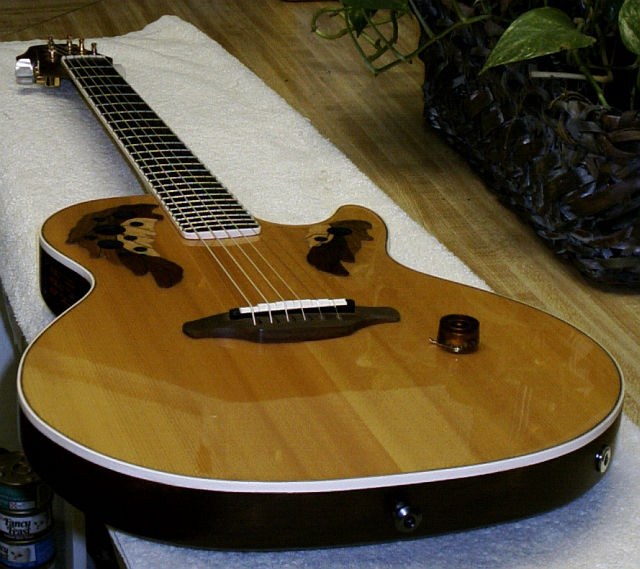
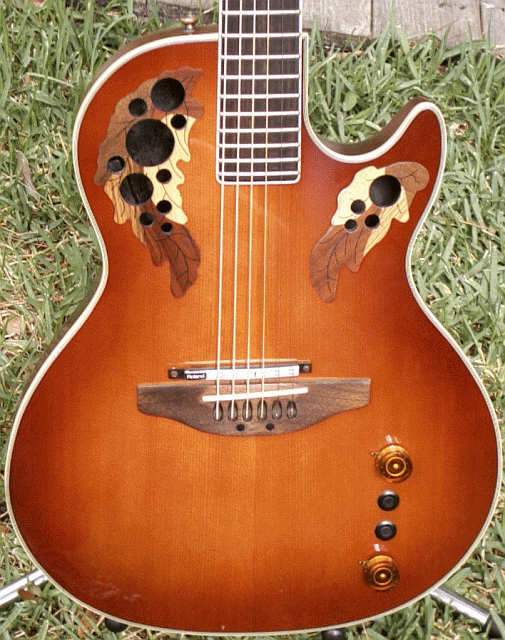
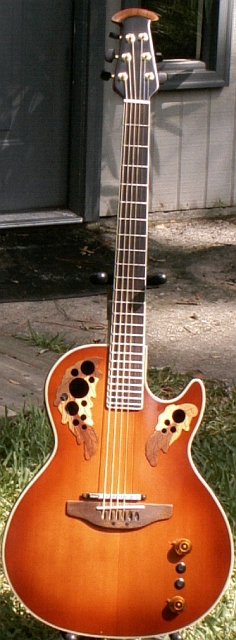
This is the CV-68 Celebrity model Viper.
I bought this specificaly to create a midi instrument for studio work. The electronic modifications were all aimed to this purpose.
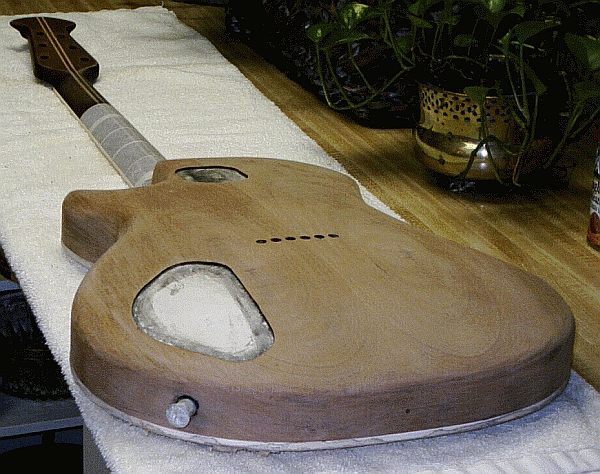
Again, the back and neck were refinished, but on this one, I used a dark tinted finish that, while still letting areas of grain show through, was opaque enough to hide the fact that the back is pieced together.
Newly stripped, this shot shows the 3 piece construction well with a center section and two wing pieces to form the body.
Now the tinted finish...
I used the cavity intended for the stock preamp to place an external battery box.
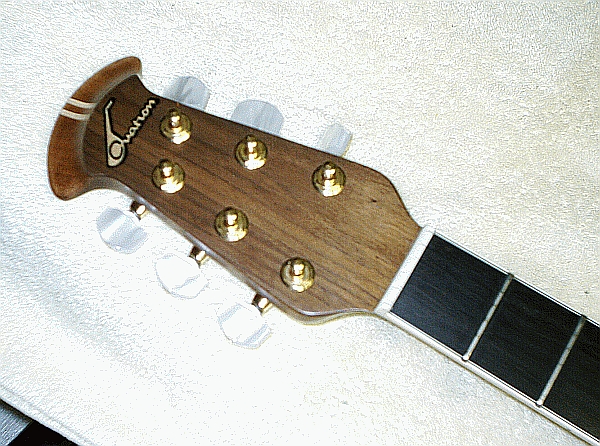
Celebrity headstocks are pretty rough cut but with a little TLC, sanding and rounding up the hard edges,it can be made to match it's USA stablemate's. An ebony veneer overlay was added to the headstock to pretty it up, and matching ebony tuning buttons.
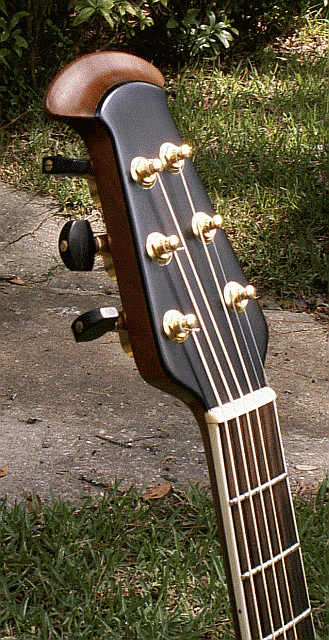
The stock Celebrity tuners are a bit on the cheap side so I replaced them with premium Schallers.
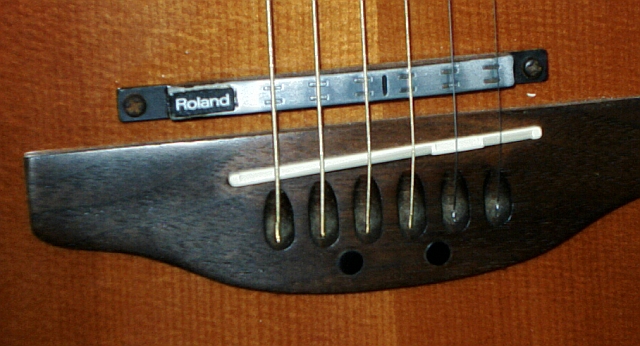
Once the refinishing was done it was time to move along to the installation of the Roland GK-2 midi pickup and associated electronics and controls.
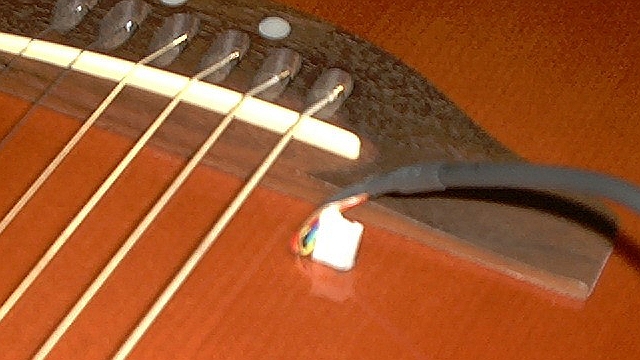
The process started with cutting this oval opening into the top. The hole shape was dictated by the sub connector on the GK-2 Pickup lead.
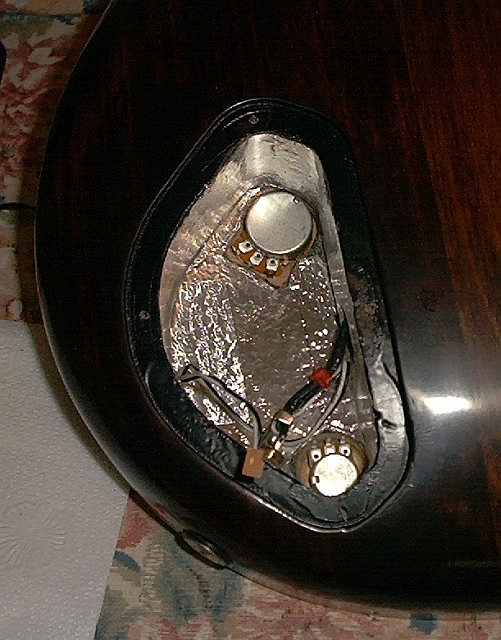
As shipped from the factory, this back cavity is used only for the 9 volt battery. For this instrument, it will be used to house the GK-2 PCB, the sadle PU preamp, the volume control knob's, synth patch change button's, and the 13pin jack installation.
I lined the cavity with foil tape to reduce the possibility of EM noise.
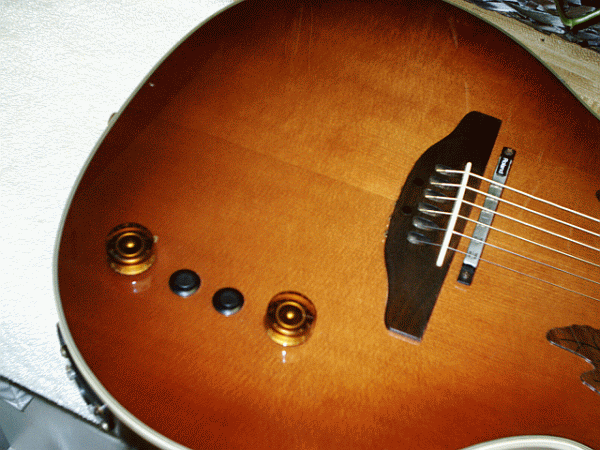
In this pic, the top pot is for the stock sadle PU, the lower pot is for the Midi PU volume.
The two GK-2 synth/patch control buttons were installed in line between these two (not pictured here).
The rest of the cavity filled up pretty quickly once I moved the stock preamp and added the PCB and connections for the Midi PU. (Why I didn't take a final closeout picture is anyones guess... )
Here you can see the Midi 13 pin Roland jack installed next to the standard 1/4 output.
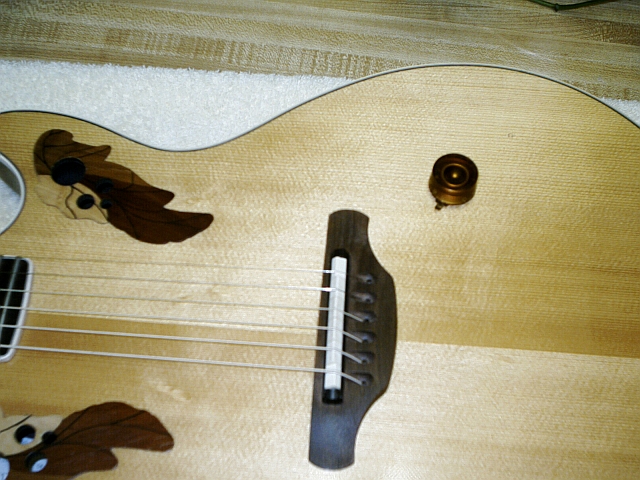
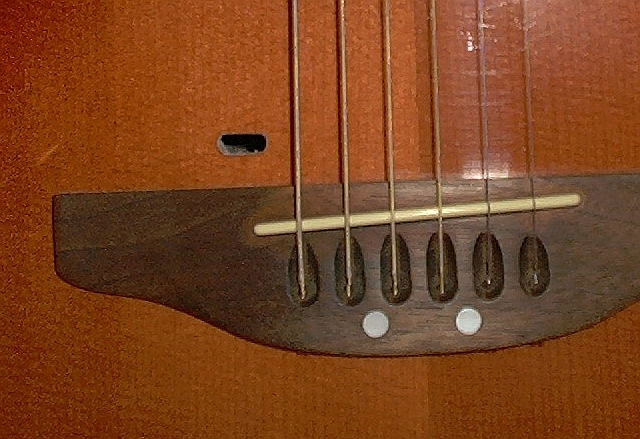
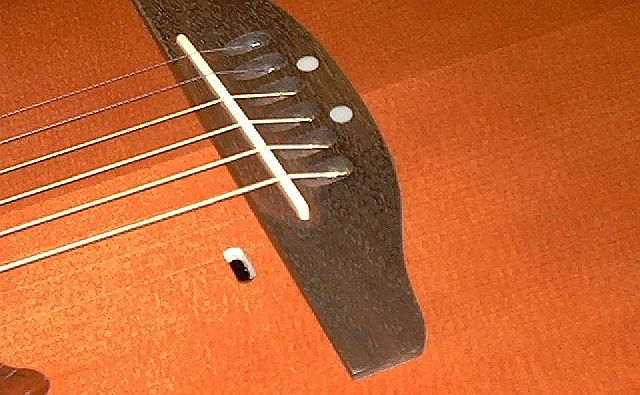
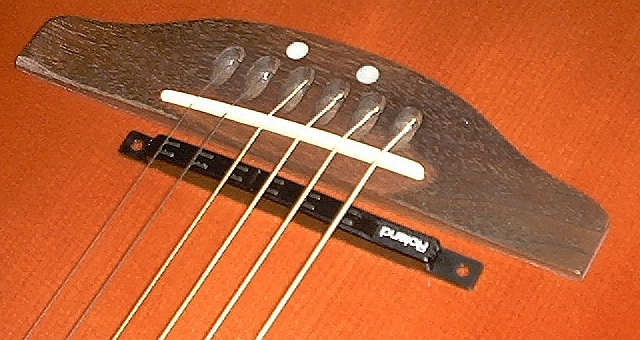
I replaced the sadle with a newer "B" compensated version, and switched the "pearloid" bridge screw covers for ebony ones.
This project took about 5 months.
I no longer own this Viper... still experiencing sellers remorse.